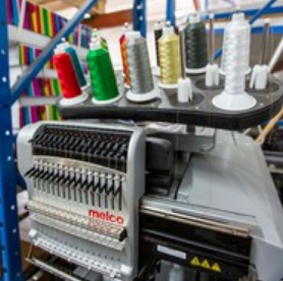
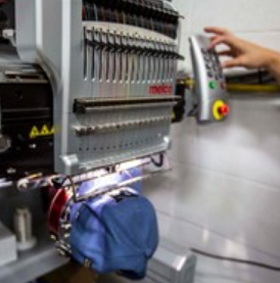
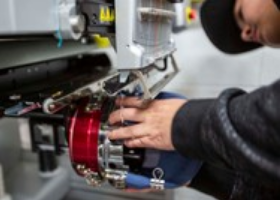
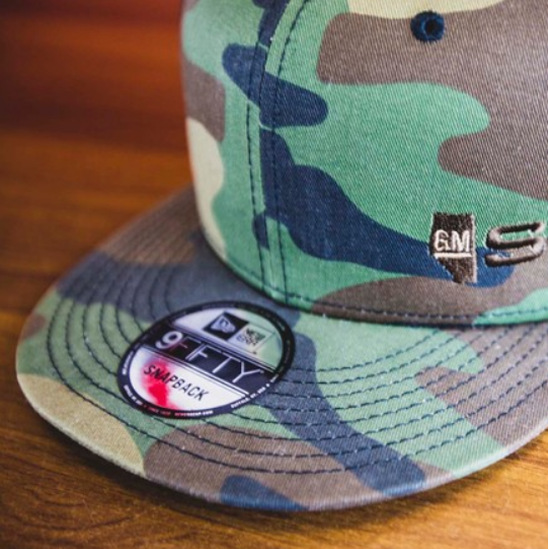
Behind The Scenes at Allrush – Custom Embroidery


© AllRush 2012 - 2023 | All Rights Reserved